
How Much Do You Know About Ads by DNS-Keeper?
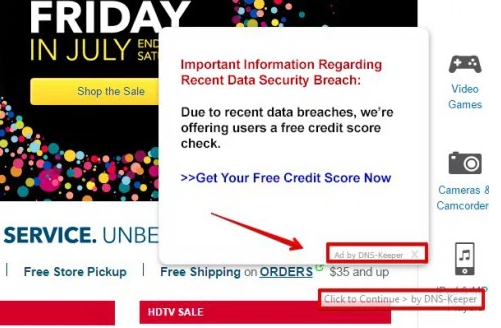
DNS-Keeper adware can display irritating popup to decrease the availability of browsers installed on the targeted computers once getting into users’ systems stealthily. This program does well in modifying relevant browser settings and taking a hand in users' browsing activities. If you are a sufferer of this ad generator, please do not take the adware slightly.
It will arouse some issues on your computer if not removed timely:
* It inserts itself to your browser and floods pop-ups to pollute your screen.
* It decreases the browser performance badly by slamming you with constant Ads.
* It places various overlaying Ads leading to unsolicited sites repeatedly.
* It may add other unwanted app to your computer without asking permission.
Considering that DNS-Keeper gets on your machine secretly, there is possibility that it may come along with other applications with malicious signature. To avoid unnecessary problems, you are highly advised to get it removed in a timely fashion. Adware removal should be completed speedily. If you are still looking for a good way to uninstall this self-invited guest, you might as well take a look at the following removal tutorials.
How to Get Rid of Ads by DNS-Keeper Manually?
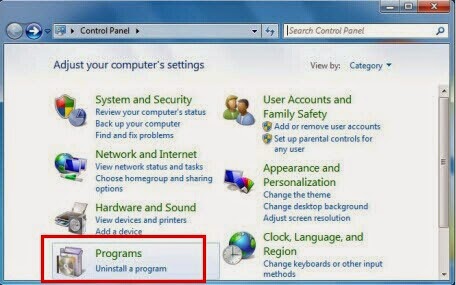
Step A. Delete unwanted program from Control Panel
Win 7: Go to the "Start" menu, select "Control Panel". Go to "Programs(Uninstall a program)". If the DNS-Keeper Ads relevant item is there in the list of your Programs, then select it and uninstall it.
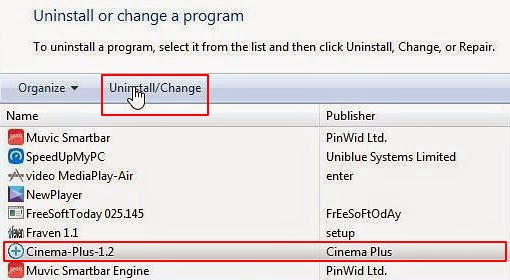
Win 8: Right-click in the screen’s bottom-left corner and choose the Control Panel, and then choose Uninstall or change a Program from the Programs category. Click DNS-Keeper and then click its Uninstall button.
Win XP: Go to the "Start" menu, select "Control Panel". Go to "Add or Remove a Program". If the DNS-Keeper is there in the list of your Programs, then select it and uninstall it.
Step B. Check your browser and then disable/remove relevant add-on
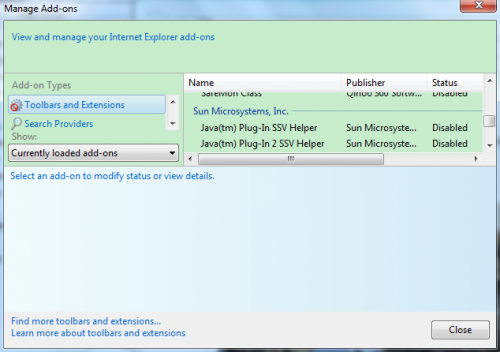
Internet Explorer :
1. Click on the Tools -> select Manage Add-ons;
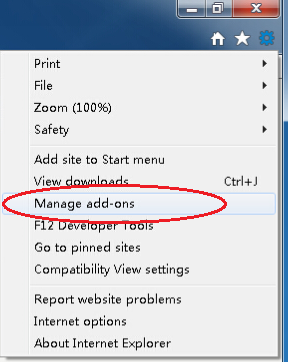
2. Go to Toolbars and Extensions tab ->right click on DNS-Keeper-> select Disable in the drop-down menu;
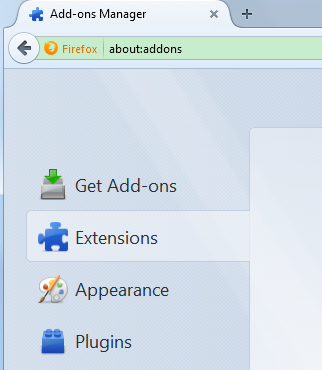
Mozilla Firefox :
1. Click on the "Open Tool" icon -> hit Add-ons;

2. Go to Extensions tab ->select DNS-Keeper->Click Remove;
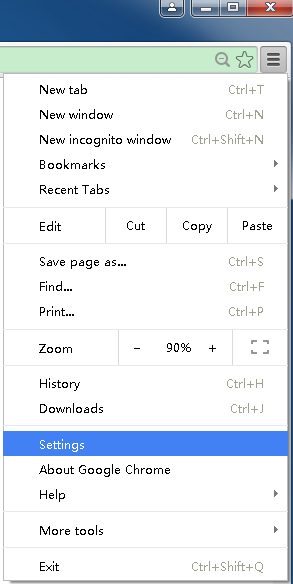
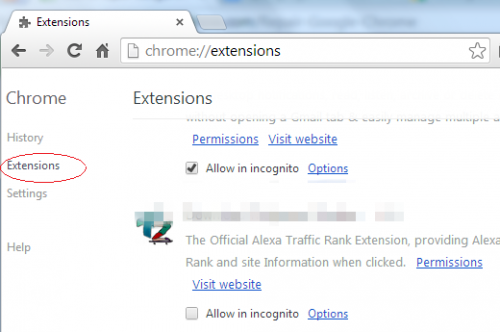
1. Click on Customize icon (Wrench or 3 bar icon) -> Select Settings -> Go to Extensions tab;
2. Locate DNS-Keeper and select it -> click Remove/Trash button.
Step C: Delete relevant files and entries
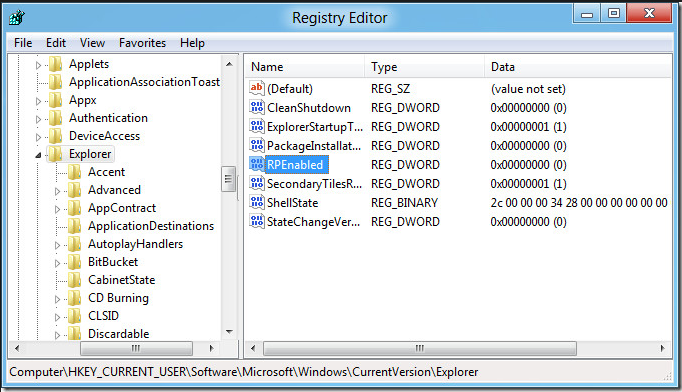
You may need to delete associated registry entries from Registry Editor.
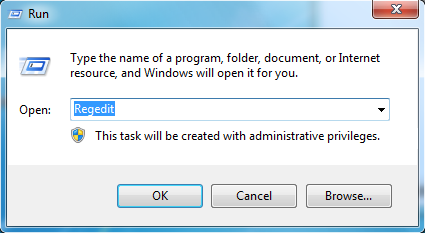
1. Click Start and Type "Run" in Search programs and files box and press Enter
2. Type "regedit" in the Run box and click "OK"
C:\Program Files\DNS-Keeper buttonutil.dll
C:\Program Files\DNS-Keeper.exe
HKLM\SOFTWARE\MICROSOFT\WINDOWS\CURRENTVERSION\EXPLORER\BROWSER HELPER OBJECTS\{RANDOM}
HKCU\SOFTWARE\MICROSOFT\WINDOWS\CURRENTVERSION\EXT\SETTINGS\{RANDOM}
HKCU\SOFTWARE\INSTALLEDBROWSEREXTENSIONS\
If you are not confident to complete the above manual removal process by yourself, you would be suggested to use the best Ad removal tool - SpyHunter. This tool created to locate corrupt files and entries of malware won't disappoint you.
How to Remove Ads by DNS-Keeper Automatically with Removal Tool SpyHunter
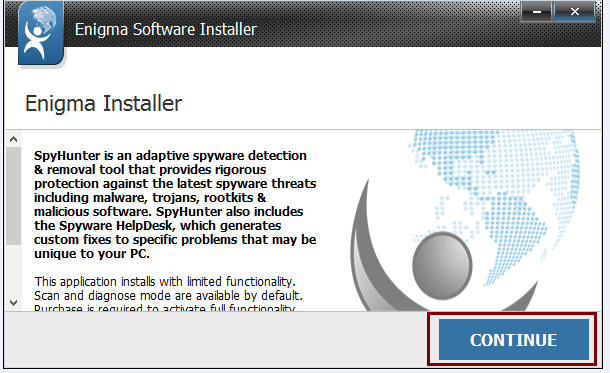
Step A. Download Ads remover SpyHunter

Follow the on-screen tips to get SpyHunter installed
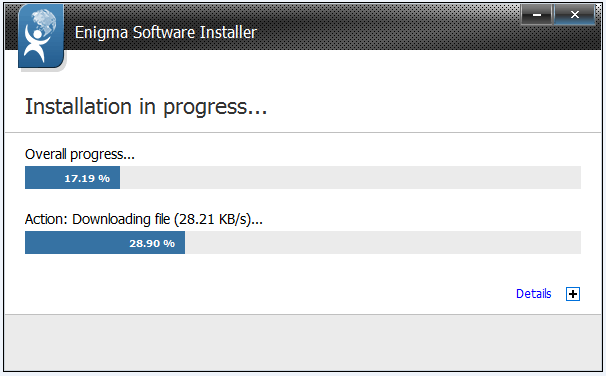
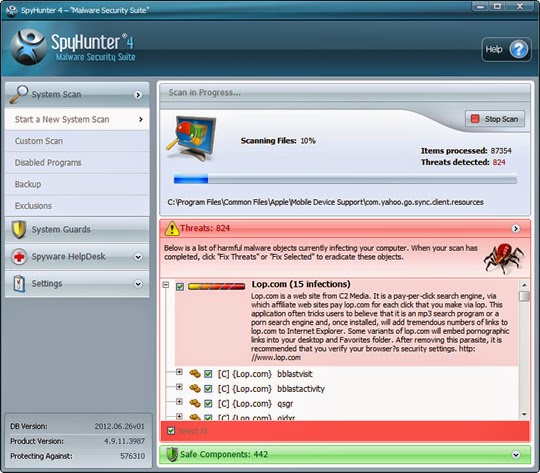
Step B. Run the removal tool and start a scan, searching for this browser invader
Suggestions for Ads Removal:
Anything coming compulsively and occupying browser like "brought by DNS-Keeper" Ads should be eliminated thoroughly. If you have any difficulties finishing the adware manual removal by hand on your own, you could feel at ease to start an automatic removal with DNS-Keeper Ads removal tool.
No comments:
Post a Comment
Note: Only a member of this blog may post a comment.